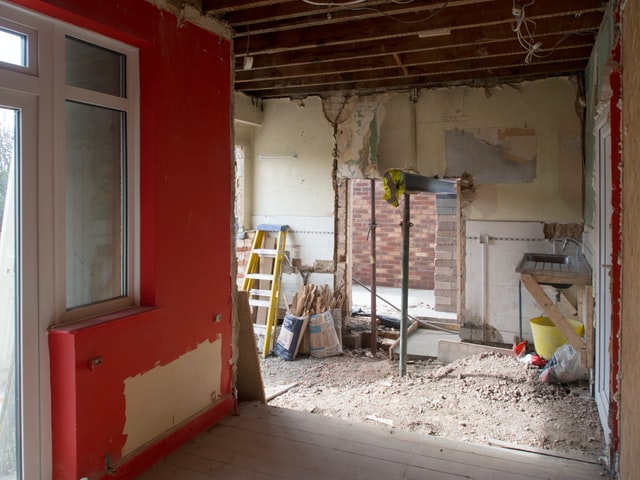
If you live in an area that experiences a wet season and cold climate often, your property is likely to encounter moisture, mold, and mildew. Homes with basements are even more at risk of the negative effects of damp weather conditions.
When you’re in the middle of a basement finishing project, or you plan to remodel your space to accommodate your needs, it’s not enough to include a false wall to improve your home’s structure. You could consider installing a vapor barrier before closing your walls completely for more protection, and fewer chances of letting moisture in that could destroy your household.
Although you can acquire vapor barriers in the market in various types, the installation process is pretty much the same. When in doubt, get a vapor barrier that works well for your climate. Keep reading below to find out how to install a vapor barrier for your home as part of the finishing touches of your basement.
What You Will Need
- Seam tape
- Silicone caulk
- Nails or staples
- Vapor barrier roll
How to Install a Basement Vapor Barrier
The first thing you have to do is inspect your basement walls and know where to position the vapor barrier. The area must be clean, spotless, and completely dry before the installation. If there are signs of cracks, holes, or any noticeable damage, you should hire a professional to perform the necessary basement repairs before pushing through with your project.
Once your desired basement wall is clear of damage, you can grab your silicone caulk and apply it over windows or door frames and through visible gaps in your basement walls. Afterward, place the vapor barrier onto the walls and spread them out evenly.
After fixing the vapor barrier evenly, you can get your nails or staples and incorporate them over each sheet, leave a space, and apply them every two feet. It will guarantee the correct placement and provide added protection.
You should extend each vapor barrier sheet at least twelve inches exceeding the base of the wall that’s close to the basement floor. Don’t forget to double up the edges per sheet and let them overlap by at least four inches.
Once everything is in place, use your seam tape to secure the edges or seams of each vapor barrier sheet. Spread out the tape from the top to the bottom part of the sheet, and remember to press firmly down on it using the flat part of your hand to guarantee it’s perfectly attached.
Holding onto your wall studs and insulation, put them over the vapor barrier properly. Grab the lower part of the sheet that goes past your floor and fold it back to cover the bottom part of the insulation. Use the nails or staples to hold it in place over the wall studs.
For the finishing touches, attach the drywall or other materials used to complete your basement wall. When installing the vapor barrier, be careful not to create a tear or any form of damage, or it will decrease the usefulness of the material.
Conclusion
Installing a vapor barrier for your basement is relatively easy, so long as you have the proper tools to complete the project. But if you wish to avoid wasting your efforts and money, you should leave the installation to a professional who does insulation work and other home improvements. They can guarantee to perform the process well and have your basement upgraded and ready in no time.
Are you looking for basement remodeling services in Montgomery County, Maryland, for your home? Handyman of Rockville offers handyman services and home improvement projects at affordable prices. Get in touch with us today to receive a quote!
